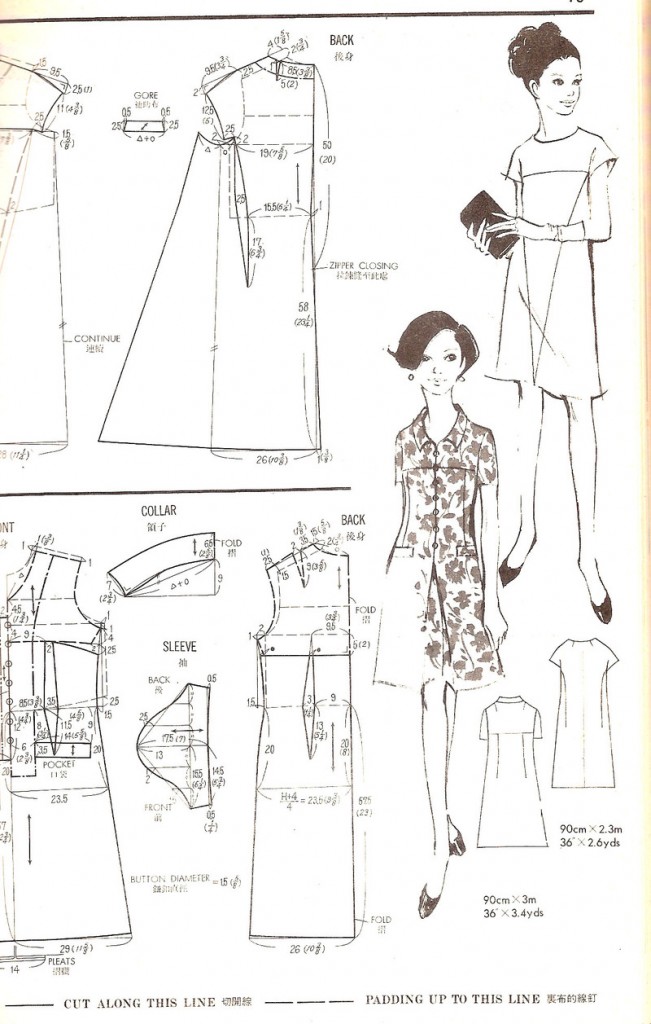
Patterns aren’t cheap. Seriously, I was browsing through through the look books at Hobby Lobby the other day and some of them were as much as $20. Tack that on to the price of fabric and other supplies and suddenly sewing your own clothing becomes very expensive.
Thankfully, you can make your own patterns using your own clothing that you know to fit well. I came this step by step tutorial how to make your own t-shirt pattern on Sweet-Verbena website.
We would like to share with you this tutorial and show you how to make a simple blouse pattern using a top of your own:
I found this cute top, thrifting the other day. I love the simple shape.
I used Scotch Postal Wrapping Paper as my pattern paper. I found it at Target for about $5. It gives you 30 feet of paper, so it will last a long time.

I used paper because I like to just lay my pattern piece down and trace the shape right onto my fabric. If you think you’d prefer to pin the pattern to your fabric and then cut it out, paper may not be the way to go for you.
Muslin fabric is another great material that would allow you to pin the pattern piece to your fabric. It’s also nice because it can be folded up and stored away when not in use.
Lay your garment down on the paper and determine the middle of the top.

Mark right above the collar and right below the hem.
Draw a rough outline of one half of the top.

When you get to the sleeve, do your best to fold it back so that you just see the armhole. Sketch the curve as shown below.

This first pattern piece I’m working on will serve as the back of the pattern. Sketch the outline of the slightly higher, back collar. Stop once you get to the half marks that you previously made.

Now you’ll need to sketch an outline outside the dotted line to allow for seam allowances.
To determine how far apart the rough sketch line should be from the final outline of the pattern you’ll need to take what materials you’re working with into consideration.
To determine how far apart the rough sketch line should be from the final outline of the pattern you’ll need to take what materials you’re working with into consideration.
However if I was using a non-stretch garment to make my pattern I wouldn’t have to allow as much for extra fabric.


